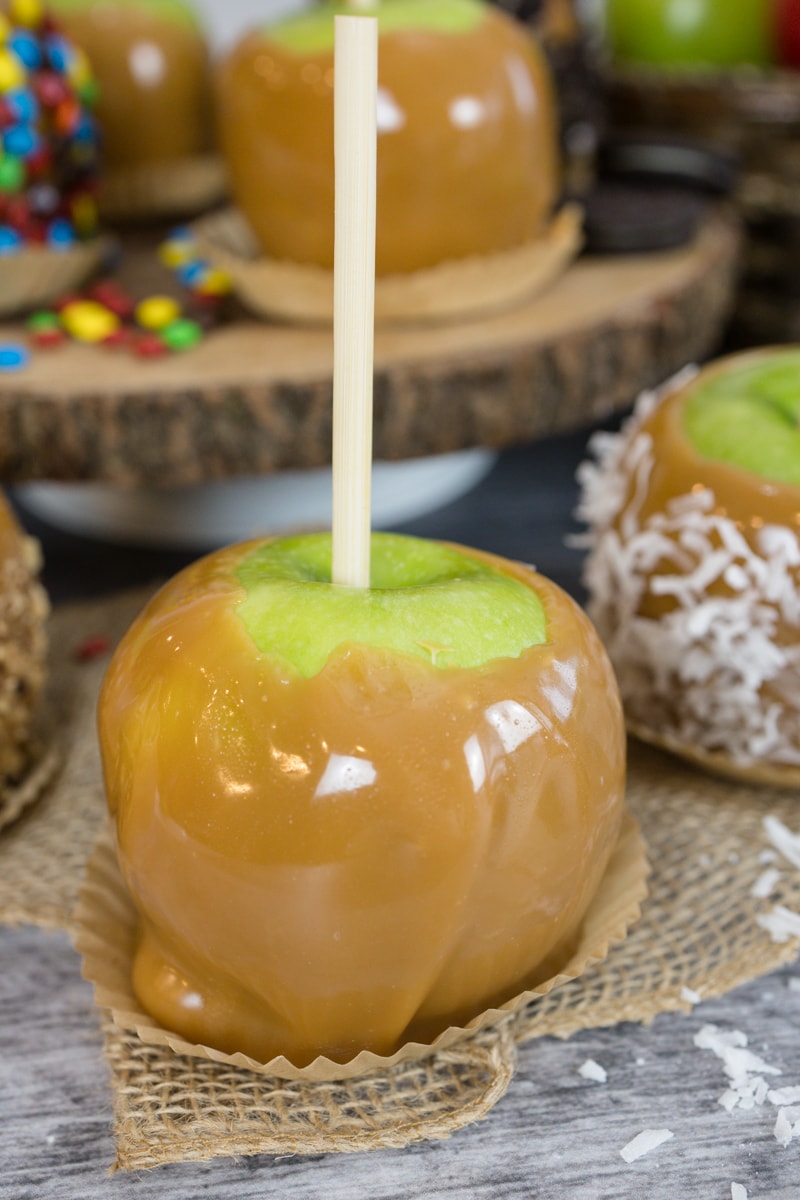
Fall and Apples go hand in hand. Today I'm making Caramel Apples and want to show you all the tips and tricks to making them perfect. I've had a few horror stories where I ended up with naked apples but with these tips you will have beautifully covered Caramel Apples every time.
This post and recipe was created for #HalloweenTreatsWeek! I was sent samples by some of the sponsor companies but as always opinions are 100% mine. This post may contain affiliate links.
Caramel Apples or Toffee apples as they are sometimes called are made by dipping a whole apple into caramel or toffee and often times also rolled with small candies or nuts. The combinations are endless this is a favorite treat at any Fall event or Halloween Party.
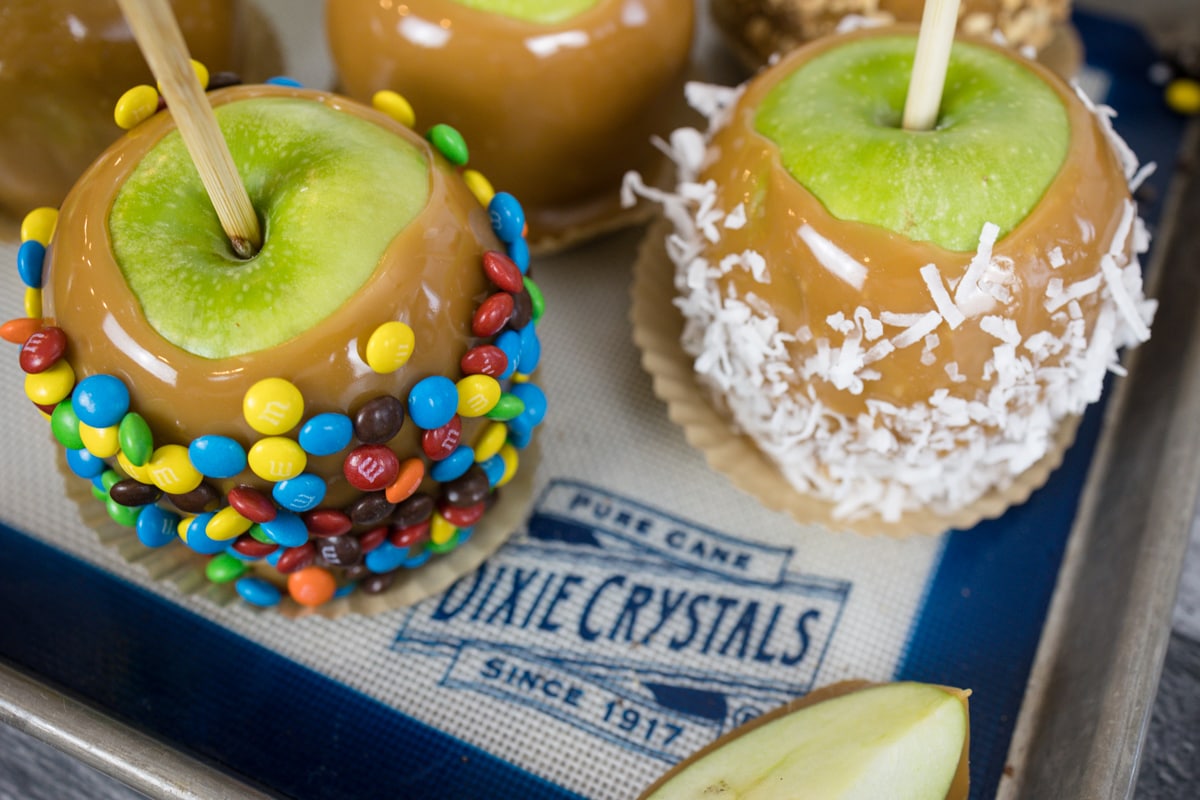
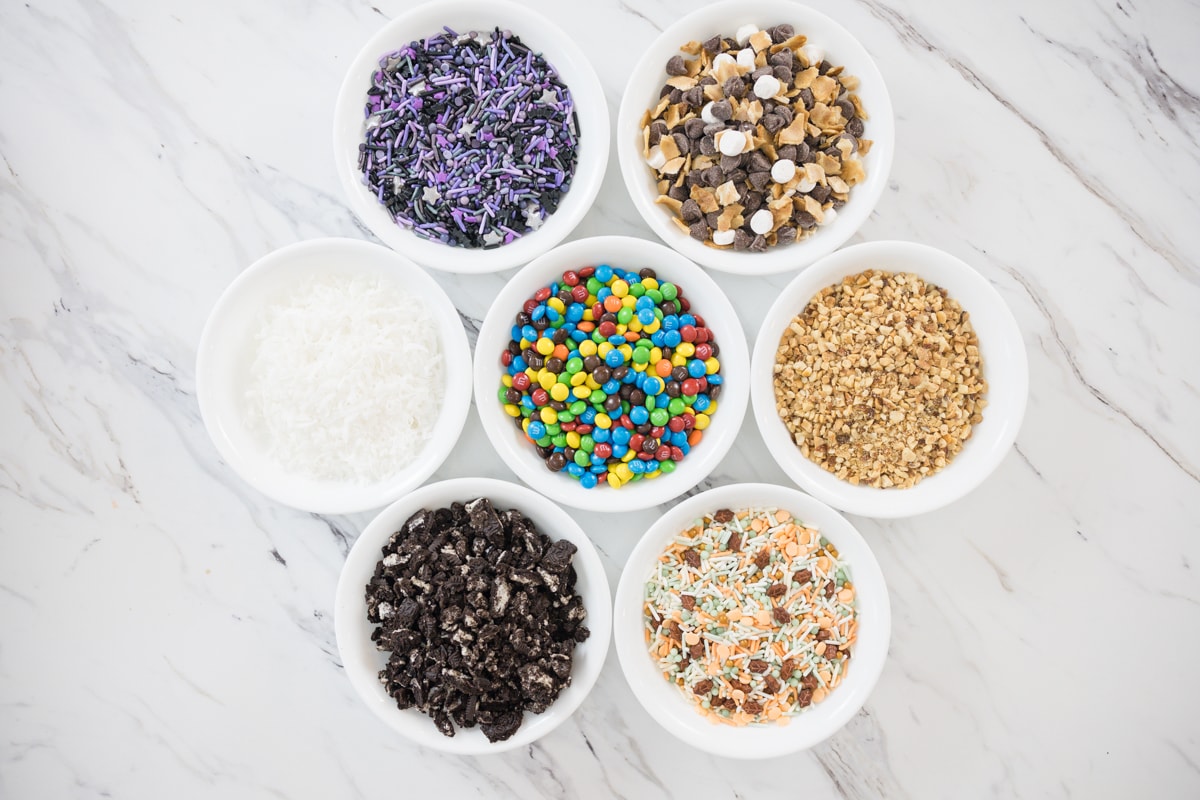
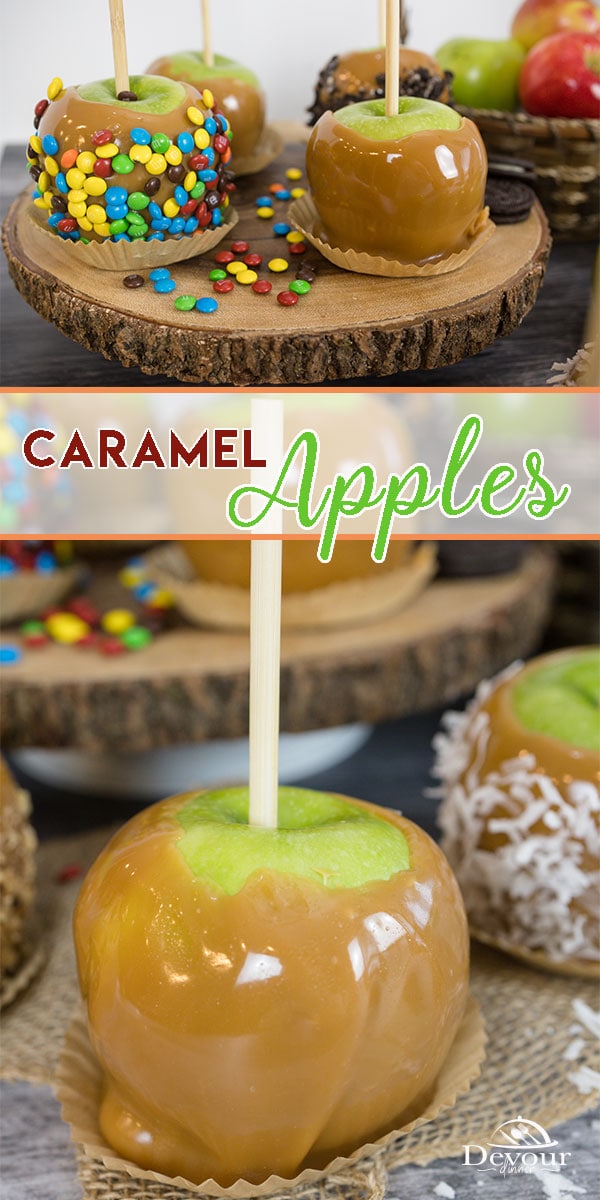
There are countless ideas of how to decorate an apple after it's been dipped and of course leaving it plain with caramel is a winning idea too. A few of my favorite candies to dip are:
- Mini M&M
- Chopped Nuts
- Coconut
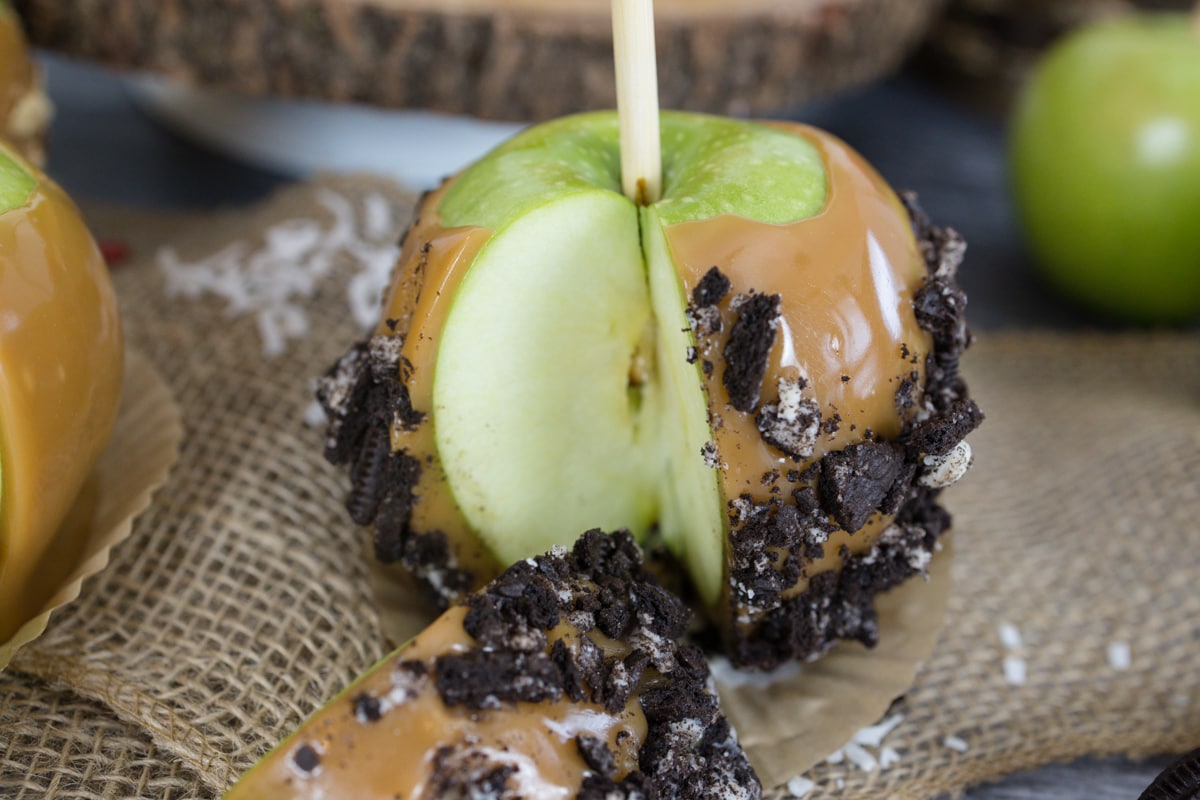
- Crushed Oreo Cookies
- Crushed Heath Bars
- Sprinkles
- Holiday Sprinkles
- Mini Marshmallows
- Mini Chocolate Chips
- Granola
- Peanut Butter Cups or Reeses Pieces
There are also combination dipping too. That's when you dip in caramel and allow it cool completely, then dip into melted chocolate or white chocolate and then dip into your favorite candy or topping. A winning combination is White Chocolate with Cinnamon and Sugar. Trust me here. It's fantastic.
Shopping List for Caramel
I strongly recommend using quality name brand ingredients for this recipe.
Butter ~ Unsalted butter or Salted Butter and omit adding additional salt
Brown Sugar ~ I used Dixie Crystals Brown Sugar. It's rich in taste and soft in texture with great rich results every time.
Sweetened Condensed Milk ~ Eagle Brand Sweetened Condensed milk is the brand of choice.
Corn Syrup / Karo Syrup ~ Nothing but the best when making candy. Karo Light Corn Syrup for the win
Vanilla Extract ~ Pure Vanilla Extract is best
Apples ~ I love Granny Smith. Honeycrisp is also a great choice too.
Supplies Needed
- Heavy Bottomed Pot ~ I used a 2qt pot which was perfect. Having a good thick pot makes all the difference when it comes to making caramel.
- Digital Thermometer ~ I love my Thermopen One by Thermoworks. It's very quick and accurate time after time.
- Wooden Spoon OR Silicone Spatula ~ I have used both when making homemade caramel. Both work great
- Silicone Baking Mat ~ Ideal for placing dipped apples while cooling. Caramel peels off easily from the silicone baking mat.
- Wooden Sticks ~ Choose a good stick to insert into the apple. I like these thick round sticks.
- Additional toppings
How to make Caramel Apples
I hope you will take the time to read these tips as they are very helpful. I've had plenty of failed attempts and wish I had learned these tips sooner. It's best to do a little prep work the day before you plan on making dipped apples.
Preparation the Day before
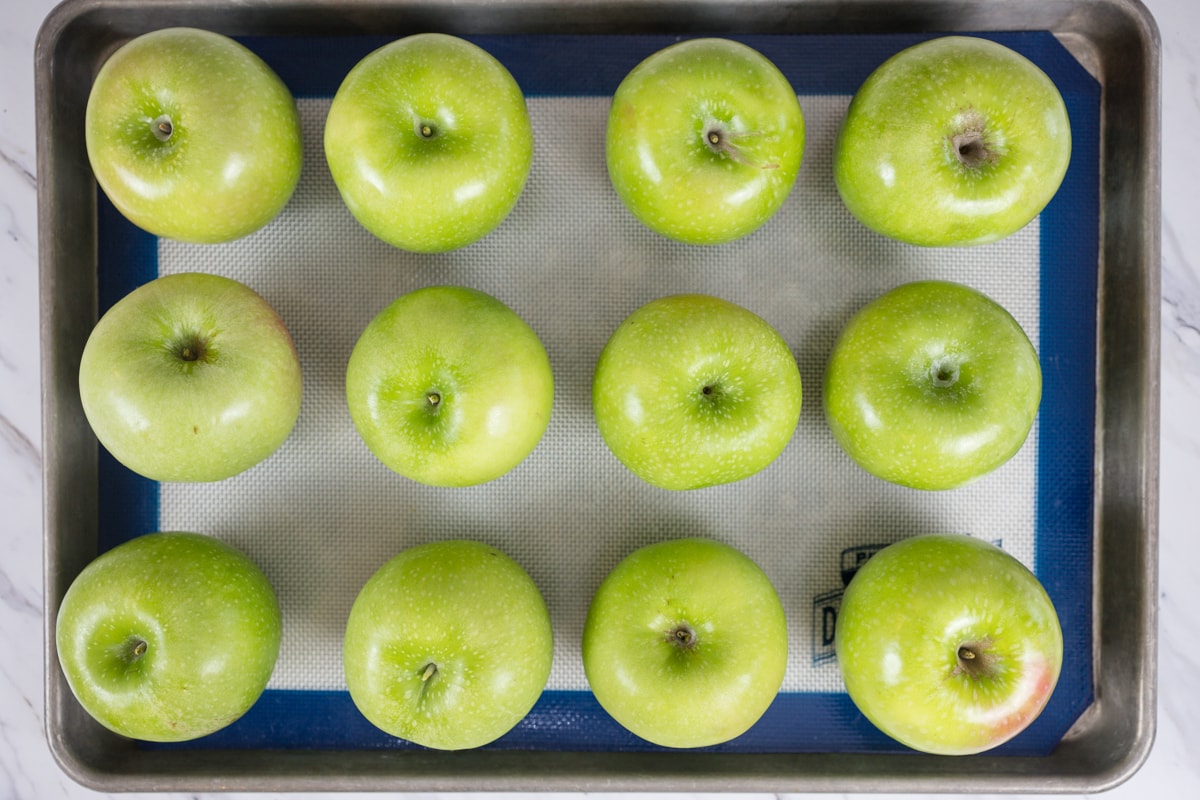
Tip Prep: Wash apples and remove sticker barcodes. Washing under warm or hot water and drying with a towel will remove wax on the apple skins. This is important because caramel can slide off an apple covered in wax.
Tip Prep: Place washed apples in refrigerator over night. Chilling apples is very important. A chilled apple will allow the caramel to set up quicker and keep the caramel in place. On the apple where it's intended.
Tips before beginning
Tip: Placing Sticks in apples can be difficult. Sticks should be inserted ⅔ the way through the apple into the core so it's sturdy and solid for holding onto. I find using something hard helps push the sticks in firmly.
Tip: Place apples into freezer for 20 mins right before you plan on dipping. This tip is the key and was shared with me by my friend Amy from House of Nash Eats. It can be a little tricky on when to place the apples in the freezer but I found as the butter was melting in the pot was the perfect time to place in the freezer to chill.
Tip: Cook caramel ingredients over medium heat. To me this means a 5 on my gas stove. This is not a recipe you rush. You will also need to continually stir. Have all ingredients ready and measured before you begin. You do not want to be distracted.
Tip: Measure and weigh ingredients using a kitchen scale. Making candy is a science and having the correct measurements makes all the difference.
Let's make Caramel
Now that I've given you all the steps, gather the ingredients and place butter in saucepan over medium heat and allow to melt. The apples should have been washed previously and chilled in refrigerator. Sticks inserted and now is a good time to place the apples in the freezer.
Once the butter is melted, add brown sugar, sweetened condensed milk, and corn syrup. Gently stir to mix ingredients and continue stirring scraping bottom of pan making sure nothing sticks to the bottom. This can take anywhere for 10-15 minutes for the mixture to come to a boil. Keep Stirring!
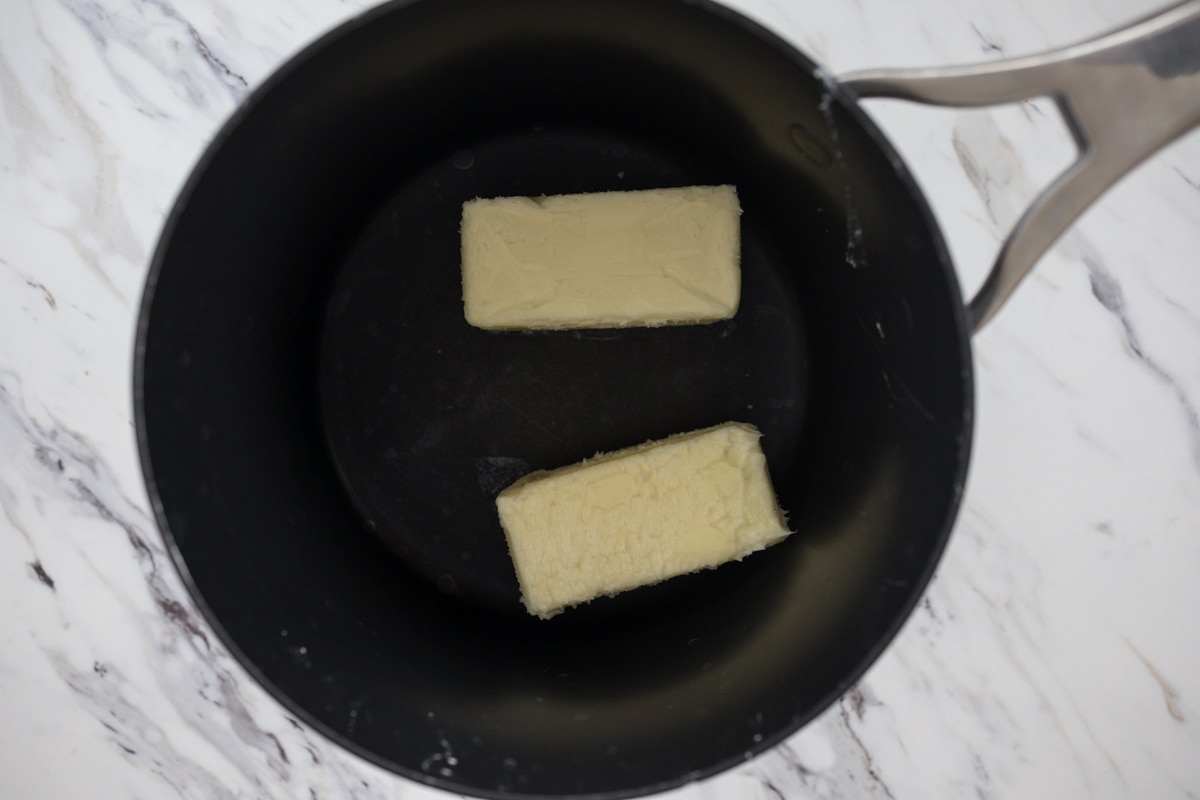
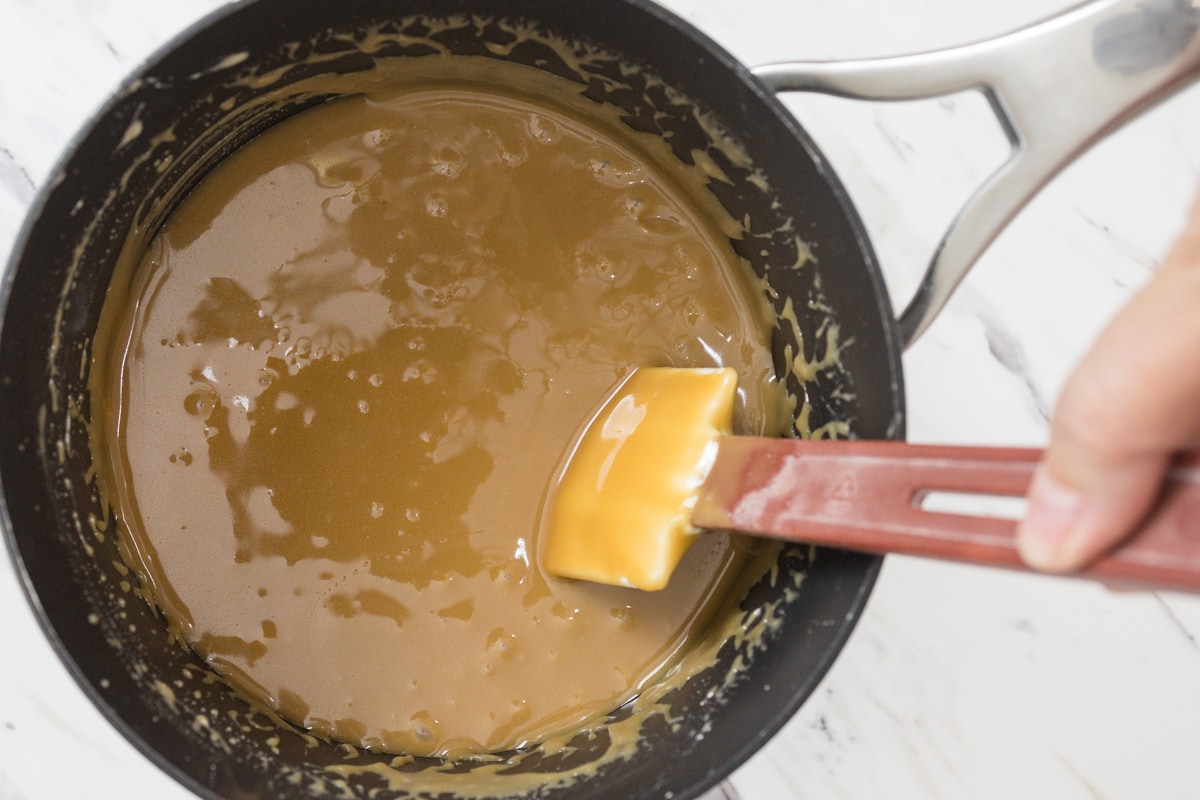
If you are using a candy thermometer now is a good time to attach it to the side of the pot. I prefer to use the Thermopen One to check temperature. Continually stir and cook sauce until it reaches 235-240F Degrees.
Remove from heat and add Vanilla Extract and salt and stir. Mixture will boil rapidly. Stir until everything is combined and smooth. Make sure to pull apples out of the freezer at this point and allow caramel to cool to 180 to 160F degrees.
While caramel is cooling make sure to set toppings in bowls ready for the dipping fun to begin. You will not have time later. You can maintain the temperature of cooled caramel in a crock pot on the low setting. This can be helpful and allow more time to dip apples.
Dipping Apples
I prefer to dip apples at about 175 degrees. Chilled apples will cool caramel off quickly so you will need to act fast. Apples should be in the hot caramel no more than 2-3 seconds. This is a fast dip and swirl. As you dip more apples it's easiest if you tilt the pan on it's side and spin apple in caramel.
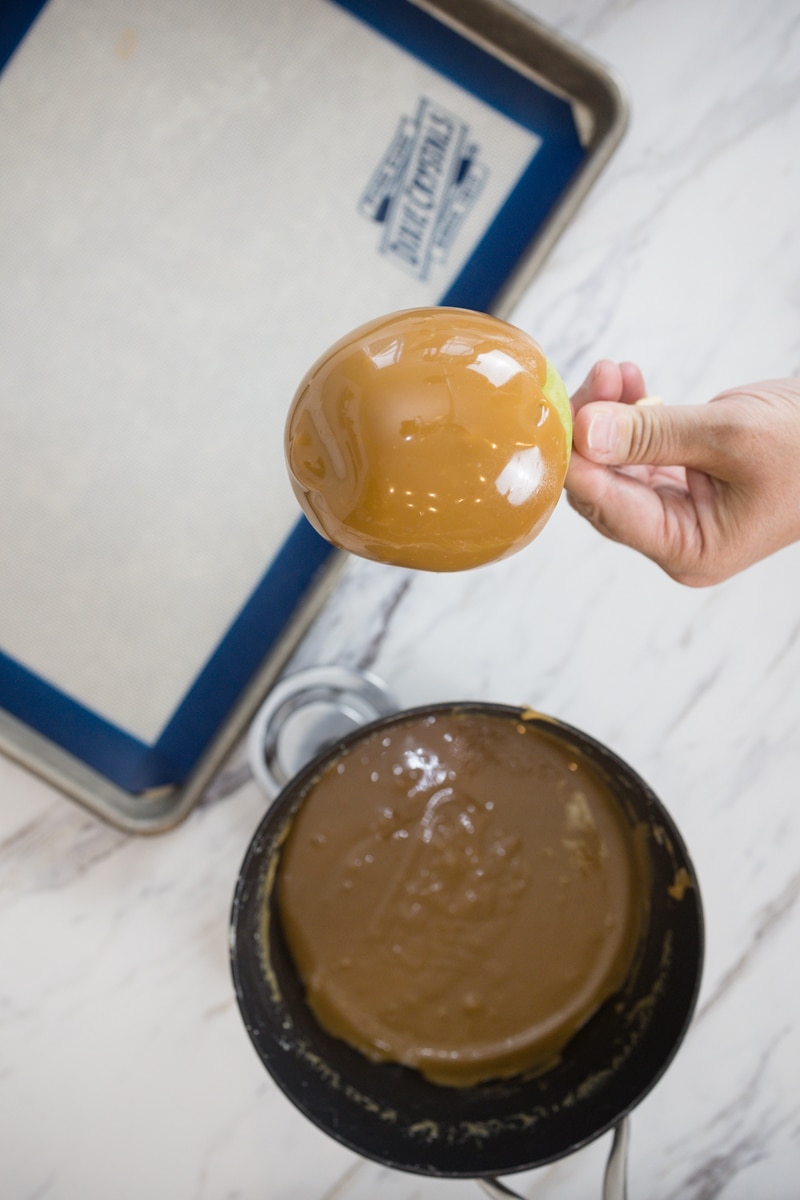
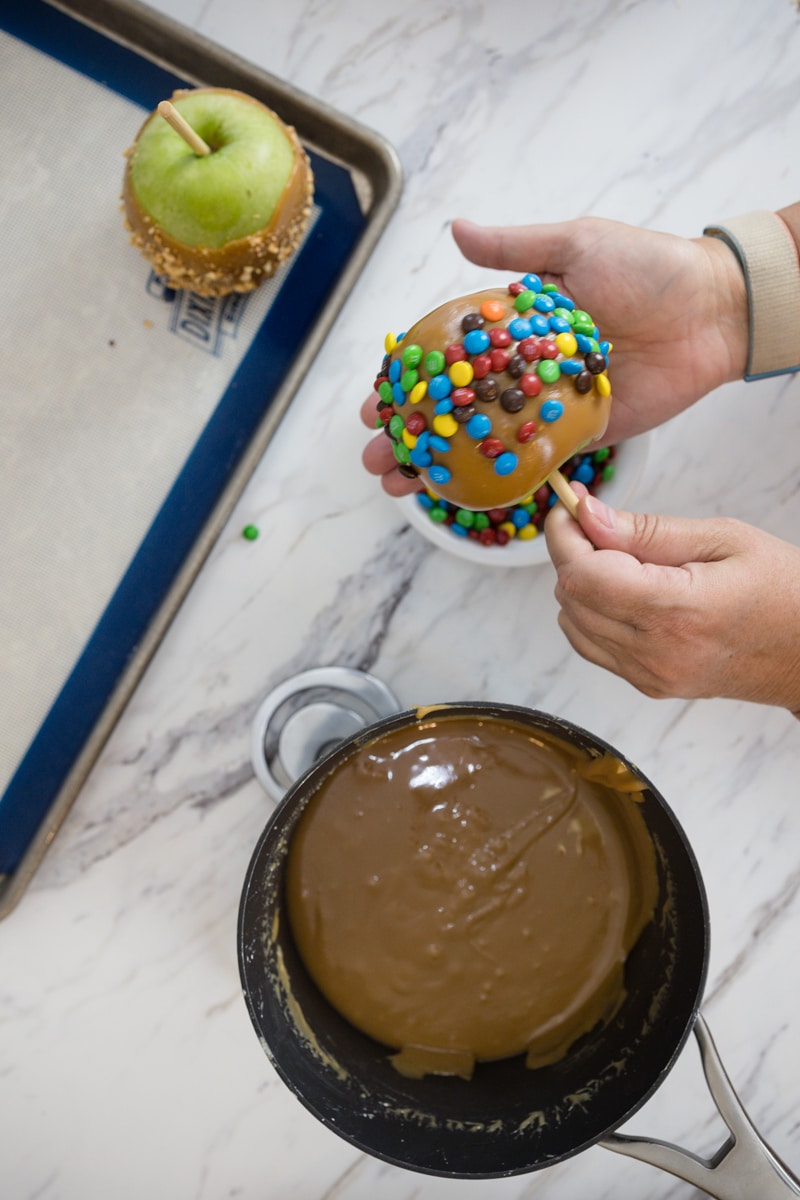
Once an apple is dipped in homemade caramel allow excess caramel to drop off. Scrape bottom as needed and then hold apple upright allowing caramel to cool in place for at least 30-45 seconds before placing on silicone baking sheet.
If you wish to dip in additional candies now is the time. Immediately dip into sprinkles, chopped nuts, crushed cookies, candy bar bits etc. I find it easiest to use my hand as a cup and pat apple into hand. I'm apple to apply force making sure candies stick to warm caramel. Then place on baking sheet.
Repeat with additional apples. Recipe will coat about 10 apples depending on size.
Fun Tip: Extra caramel can be placed on silicone baking sheet and shaped into a square or rectangle to cool. Once cool cut into bite size pieces with a knife. Enjoy a fun bite size caramel!
Dixie Crystals Sugar
I grew up being taught that Store Brands were less expensive and the same. As I’ve spent more and more time in the kitchen I’ve found that quality products make big differences and using Dixie Crystals Sugar is a new favorite find. This sugar is very fine and gives my recipes a burst of texture that I love.
What is the BEST Apple for dipping?
Hands down, Granny Smith Apples are the most popular. They are a tart firm apple which makes them ideal for dipping and enjoying with a sweet covering of caramel. Yum! Honeycrisp apples are also a great option as are Fui.
Any type of apples will work when making homemade dipped caramel apples, however the sweet caramel pairs nicely with the tart flavor of a Granny Smith Apple. Which is why this is the most popular apple to dip.
Do Caramel Apples need to be refrigerated?
Also store caramel apples in the refrigerator. This will ensure they stay fresh for up to 2 weeks. When you are ready to eat allow the apple to come to room temperature before slicing and eating. The caramel will soften and it will be delicious. It's also a good idea to place a small piece of wax or parchment paper on the bottom which helps prevent the caramel from sticking to everything it touches.
How to keep Caramel warm?
Caramel can be placed into a Slow Cooker or Crock Pot on Low setting to keep warm. This is idea if many apples are being dipped over time.


Jennifer
I have always wanted to know how to make homemade caramel apples. Thanks for sharing your tips and your recipe. Gonna try to make some this weekend.
Emily
I loved making these caramel apples! It was so fun having so many different candies to dip them in as well! And your tips were extremely helpful!
Amy (Savory Moments)
I love caramel apples - they are such a classic and delicious fall time treat! My kids love them too and we just went apple picking, so these are on our to-make list.
Lynn @ Fresh April Flours
Perfection! I love how simple you made this process. Thanks for all the tips!
karen
Fabulous tips! You're never too old to enjoy caramel apples!
Kathy
I love all the step by step photos and tips for making the perfect caramel apple. They can be so intimidating. Your toppings look amazing too! So many great ideas.
Hezzi-D
You can't go wrong with a good caramel apple in the fall! Yum!
Karyn M Granrud
I LOVE caramel apples! I just wish I actually made them more often. These look amazing with all the fun toppings. It'll be perfect for a weekend gathering where everyone can make their own and take them home with them.
T. John
Thank you for really taking the time to write out all the step by step directions. I also appreciate the tips and pre tips you shared. I've always wanted to make beautiful caramel apples and I think your directions are wonderful.
Jenni
I love caramel apples. Thanks for the tip about putting the apples in the freezer before dipping, too!